If you have opened a box of older reel-to-reel tape and caught a sharp, acidic odor, your first question is usually simple: why does tape smell vinegar? In most cases, that smell points to chemical breakdown in the tape base, not just a stale storage smell. For collectors, studios, and archivists, it is one of those warning signs worth taking seriously because odor can tell you a lot about stability, handling risk, and whether a tape should be played at all.
Why does tape smell vinegar on some tapes?
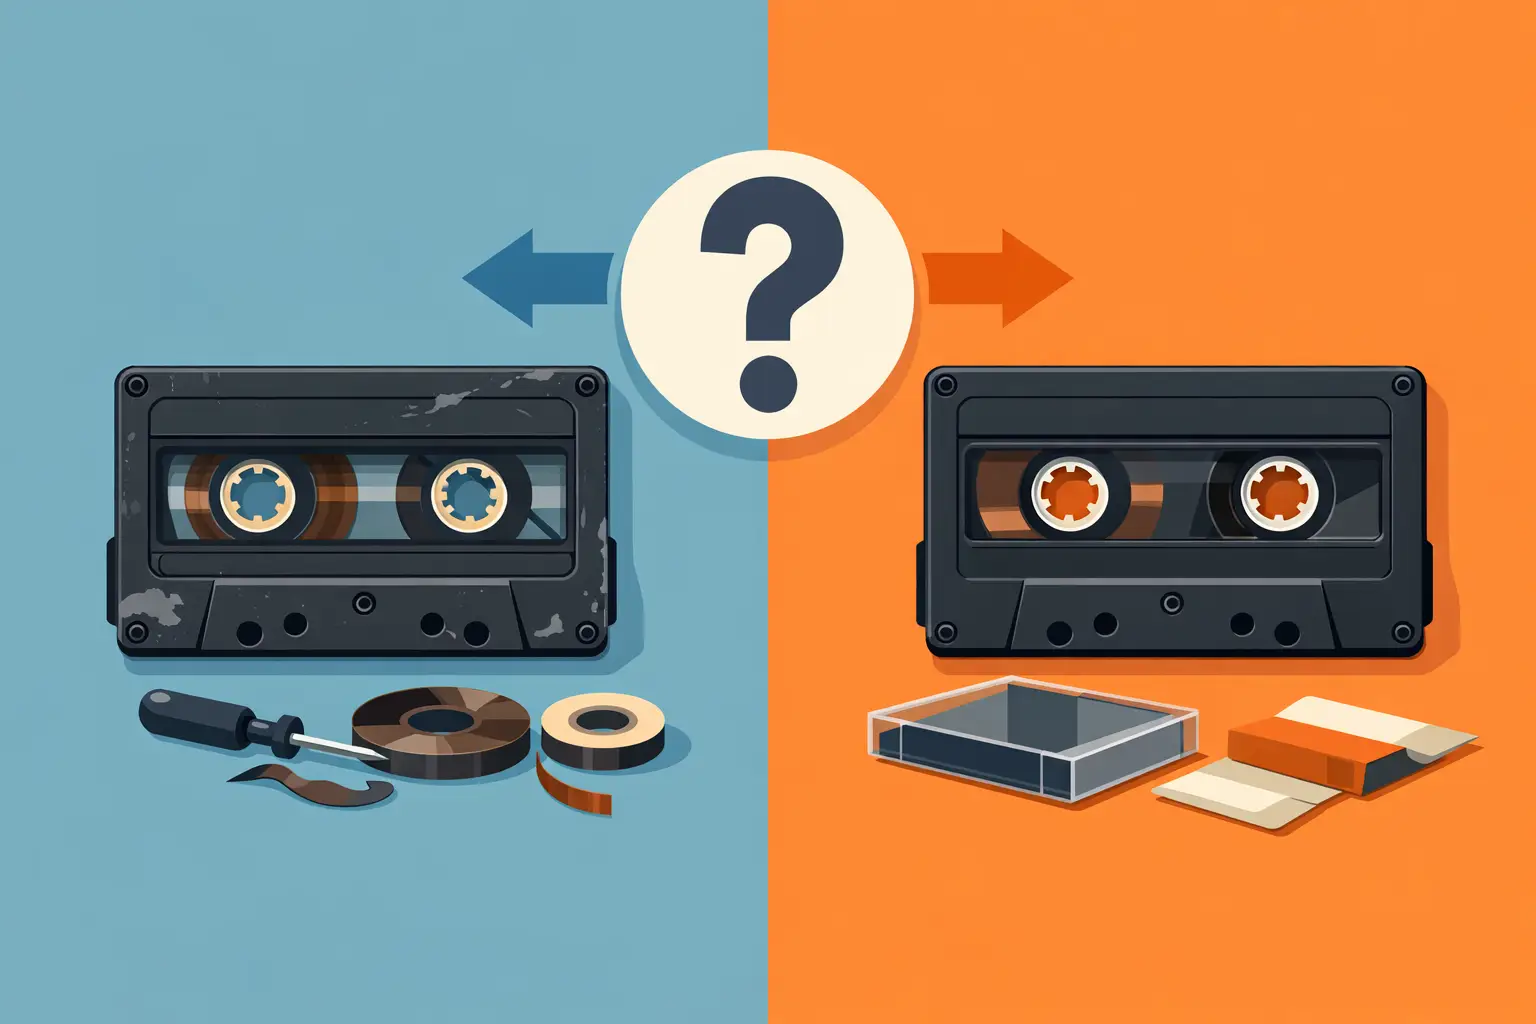
That vinegar smell is most commonly associated with acetate-backed tape. As acetate film ages, it can begin to break down and release acetic acid. That off-gassing creates the familiar vinegar odor. In the film world, this is often called vinegar syndrome, and the same basic chemistry applies to magnetic tape made on an acetate base.
Not every old tape with a strange smell has acetate decay, and not every reel from the same era will be affected equally. Storage conditions matter. Heat, humidity, poor ventilation, and long-term confinement in sealed boxes can speed up breakdown. Two reels from the same brand and year can age very differently depending on where and how they were stored.
The key point is this: vinegar odor usually means the base material itself is deteriorating. That is different from sticky-shed syndrome, which affects the binder layer on many polyester tapes. The symptoms can overlap in a casual inspection because both can make a tape seem risky, but the cause is not the same.
What the smell usually means for reel-to-reel users
For reel-to-reel enthusiasts, a vinegar smell often signals that the tape is no longer just old – it is actively changing. Acetate decomposition can lead to shrinkage, brittleness, curling, edge deformation, and tracking problems during playback. In practical terms, that means the tape may no longer move cleanly across heads and guides, even if the oxide coating still looks acceptable at first glance.
This matters because acetate tape can fail mechanically before it looks catastrophic on the reel. A tape that seems visually decent may still be shrunken enough to create tension problems, poor head contact, or audible pitch instability. If the reel has important recorded content, that is the point where careful evaluation becomes more important than casual testing.
The smell can also spread through a storage area. One deteriorating reel can affect nearby media by creating a poor microenvironment inside a cabinet or tightly packed shelf. The odor itself is a clue that isolation may be wise.
Which tapes are most likely to have the vinegar smell?
Acetate-backed tapes are the main candidates. Many earlier reel-to-reel tapes, particularly from the 1940s through parts of the 1960s, used acetate before polyester became dominant. If you handle prerecorded tapes, radio airchecks, private recordings, or older professional reels from that period, you are more likely to run into it.
That said, date alone is not enough to identify the base. Some later reels may still be acetate, and some early stock may not be. Brand, formulation, intended market, and production era all matter. Experienced users often identify acetate by a combination of age, labeling, translucence, tear behavior, and the way the tape feels, but odor is one of the easiest clues for a non-destructive first pass.
Polyester tape does not typically produce the same vinegar smell from base decay. If a polyester reel smells odd, the cause may be contamination, poor storage, smoke exposure, mold, or binder problems rather than acetate decomposition.
Vinegar smell vs. sticky-shed syndrome
This distinction is worth making because the next steps are different.
Sticky-shed syndrome usually affects certain back-coated polyester tapes where the binder absorbs moisture and begins to break down. Those tapes can squeal, shed residue, stick to guides, and often become temporarily playable after controlled baking. A vinegar-smelling acetate tape is a different case. Baking is not the standard fix for acetate base decay, and treating it like sticky-shed can waste time or create added risk.
An acetate tape with vinegar syndrome may become brittle or shrunken, and those are dimensional problems, not just surface tack problems. If you try to force playback because the reel does not look sticky, you can still damage it.
For archives and serious collectors, accurate diagnosis is everything. Smell, tape base, visible condition, pack quality, and playback history should all be considered together.
How to inspect a tape that smells like vinegar
Start with the least invasive checks. Open the box in a clean, dry space and confirm whether the odor is actually coming from the reel rather than the box, insert, or surrounding storage materials. Then examine the tape pack. Look for waviness, cinching, popped strands, edge curl, or uneven winding.
If the tape appears acetate, flex it as little as possible. Acetate can become fragile with age, and unnecessary handling increases the chance of cracking or snapping. Look at the leader and edges for signs of distortion. If the tape has already become noticeably brittle, that is a strong sign to stop before attempting playback.
You can also note whether the reel turns freely by hand with minimal movement. Resistance, roughness, or obvious deformation can indicate trouble. Still, a light manual check is enough. There is no benefit in doing a more aggressive test if the warning signs are already present.
Should you play a tape that smells like vinegar?
Sometimes yes, often not without evaluation first.
If the odor is faint and the tape shows no obvious signs of shrinkage, brittleness, or deformation, a carefully controlled transfer may still be possible. But this is where experience matters. The goal is not to see if it can survive a casual spin. The goal is to determine whether one safe pass can be made, under proper tension and monitoring, to preserve the recording.
If the smell is strong, the tape is visibly warped, or you suspect shrinkage, do not put it straight on a deck. Playback can stress the tape, cause breakage, and in some cases leave you with a damaged recording and a cleanup problem. Valuable content deserves a more cautious path.
For many users, that means separating the reel, documenting condition, and deciding whether it should go to a specialist transfer setup rather than a home machine. There is no shame in that. Rare content is often worth more than the tape itself.
Storage steps that actually help
Once vinegar odor appears, you cannot reverse the chemistry, but you can slow further damage. Cooler, drier storage is generally better. Stable conditions matter more than dramatic day-to-day swings. Good air circulation also helps because sealed, stagnant environments can trap acidic vapors.
Store affected tapes separately from healthy stock when possible. That keeps one bad reel from creating a harsher environment for the rest of the collection. Use clean, inert containers and avoid packing reels so tightly that air cannot move at all.
Do not try home remedies. Strong absorbers, perfumes, or improvised treatments do not solve acetate decomposition. They only mask the smell while the tape continues to degrade.
When the odor is mild but you are not sure
This is where context matters. A reel that smells slightly acidic but looks stable may still be transferable. A reel with the same odor plus edge curl and poor pack quality is a different story. There is no single smell threshold that tells you exactly when a tape is lost.
The smart approach is triage. Identify the tape base if possible, separate anything suspicious, and prioritize reels with unique content. If a tape is blank stock with active acetate decay, it may not be worth the risk. If it contains an irreplaceable live recording, speech archive, or family recording, the threshold for careful professional handling is much lower.
This is also where specialized tape suppliers and knowledge resources matter. In a niche like analog tape, broad advice is often too vague. Reel to Reel Warehouse focuses on exactly these condition questions because the difference between usable, risky, and non-viable tape is rarely academic for serious buyers.
The bigger lesson behind the vinegar smell
A vinegar odor is not just an annoyance. It is one of the clearest ways old tape tells you that time and storage have started to win. If you catch it early, you still have options: isolate the reel, inspect it properly, and make a thoughtful decision about playback or transfer. If you ignore it and thread the tape anyway, you may turn a manageable preservation problem into a permanent loss.
When older tape smells wrong, trust your nose enough to slow down. That one pause can save the recording.